In this article, I will cover the value of captioning your videos, how to generate captions for your videos using YouTube (even if you plan on hosting the video elsewhere), and how to add captions to videos on platforms other than YouTube.
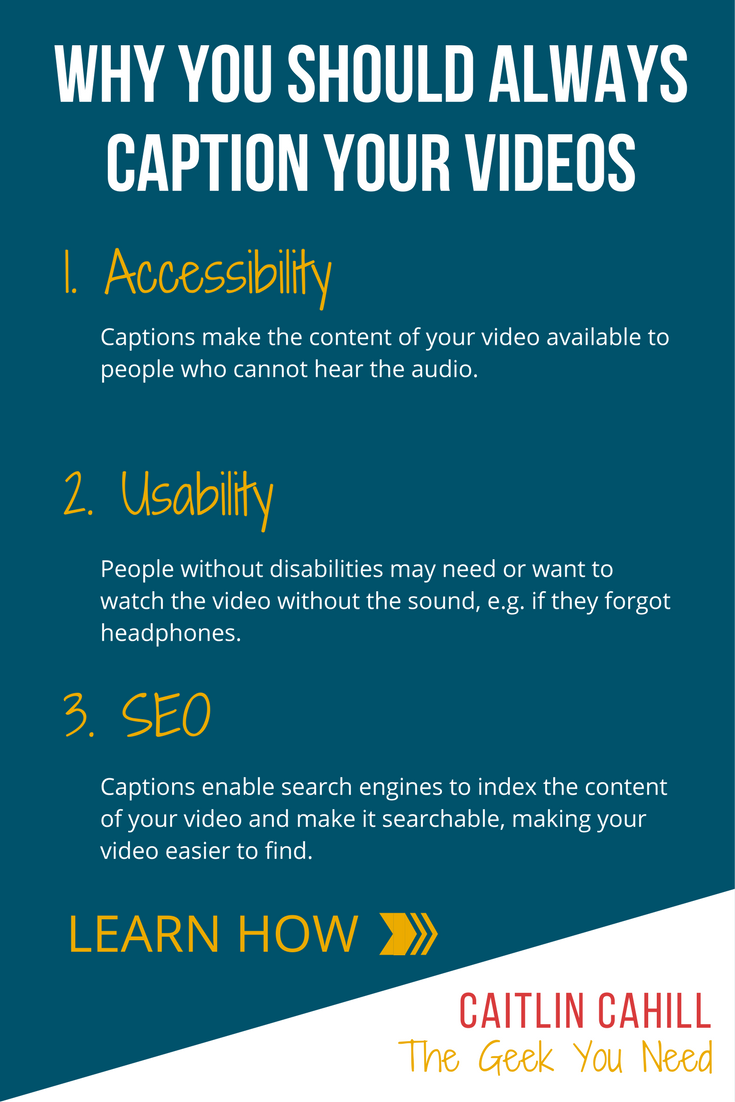
Why caption your videos?
Accessibility for People with Disabilities
First and foremost, captions make your videos accessible to people who are deaf or hard of hearing. They are also beneficial to people who are not native speakers of your language. Besides being a compassionate thing to do, if you are making your videos for business or education, it’s the legal thing to do – not captioning videos with voice narration violates the Americans with Disabilities Act and other federal regulations. If you’re a teacher and get a student with a hearing disability, you will be required to caption to your videos, so you might as well do them as you go, rather than wait and have to do them all at once.
Usability for Everyone
Captions are a great option for people who might want to watch a video without the sound, say if they’re in a public place like a library and don’t have headphones. I personally can read faster than people speak, and prefer to watch videos – especially long instructional ones – at 2x speed with captions to finish them quicker. Accurate captions are also helpful when a video contains unfamiliar terms; seeing the spelling makes it easier to look up the words.
Search Engine Optimization
Even if you don’t care about accessibility or usability (in which case, you’re probably in the wrong business), it still benefits you to caption your videos to increase their visibility to search engines. If you want people to be able to find your videos, search engines need to know what content they contain and they don’t all listen to videos…yet. Captions and transcripts provide search engines with the content of your videos, without you having to write ridiculously long, keyword-stuffed titles and descriptions.
How to caption your videos with YouTube
Even if you don’t plan on hosting or sharing your videos on YouTube, you’ll need to upload them there in order to use the captioning tools; you can set the visibility to “private” if you don’t want people to be able to find them on YouTube while you create the captions. The instructions below assume you’ve created a YouTube account and uploaded at least one video.
Use Automatic Captioning
Here’s how you can review automatic captions and make changes, if needed2:
- Go to your Video Manager by clicking your account in the top right > Creator Studio > Video Manager > Videos.
- Next to the video you want to add captions or subtitles to, click the drop-down menu next to the Edit button.
- Select Subtitles and CC.
- If automatic captions are available, you’ll see Language (Automatic) in the “Published” section to the right of the video.
- Review automatic captions and use the instructions to edit or remove any parts that haven’t been properly transcribed.
Use Transcribe & Auto-Sync
If you prefer to start fresh or have a transcript already, you can add new captions using YouTube’s Transcribe & Auto-Sync tool. If you don’t have a transcript to upload, you can use this tool to type captions as the video plays and then YouTube will sync them for you. You can adjust the length and time of the auto-sync captions if needed.
Adding Captions to Videos on Other Platforms
Even if they don’t have a cool caption tool like YouTube, most video sharing sites at least allow you to upload your own subtitle file (.srt), which can be downloaded from your video manager in YouTube. So, even if you don’t plan on using YouTube to share your videos, you should at least use it to create the captions. Here’s how to get the SRT file to upload to other sites:
- Go to your Video Manager by clicking your account in the top right > Creator Studio > Video Manager > Videos.
- Next to the video you want to download captions from, click the drop-down menu next to the Edit button.
- Select Subtitles and CC.
- Click the language you’d like to download
- Click Actions > .SRT and save your file
Then follow the instructions to upload your subtitles on the platform of your choosing, such as Facebook or Vimeo.
Downloading a Transcript
It may be helpful to include a link to the transcript of your video, for those who have limited internet access. To download a copy of your captions as a transcript, follow the steps above, except select Original Format instead of SRT to get a plain text (.txt) file.
- Rosner, Dave. “3 Strategies To Unlock Youtube’s Potential In 2015.” Entrepreneur. Entrepreneur Media, Inc., 2015.
- “Use Automatic Captioning – Youtube Help.” Support.google.com. Google, 2017.